4 Ways to unblock your bathroom sink
Second only in inconvenience to a blocked toilet is a blocked sink. It’s a hassle, it’s a mess and more often than not it requires human intervention to get it back to normal. If you have found yourself in the unpleasant situation where you’re faced with a blocked bathroom sink and don’t know how to unblock it then read on!
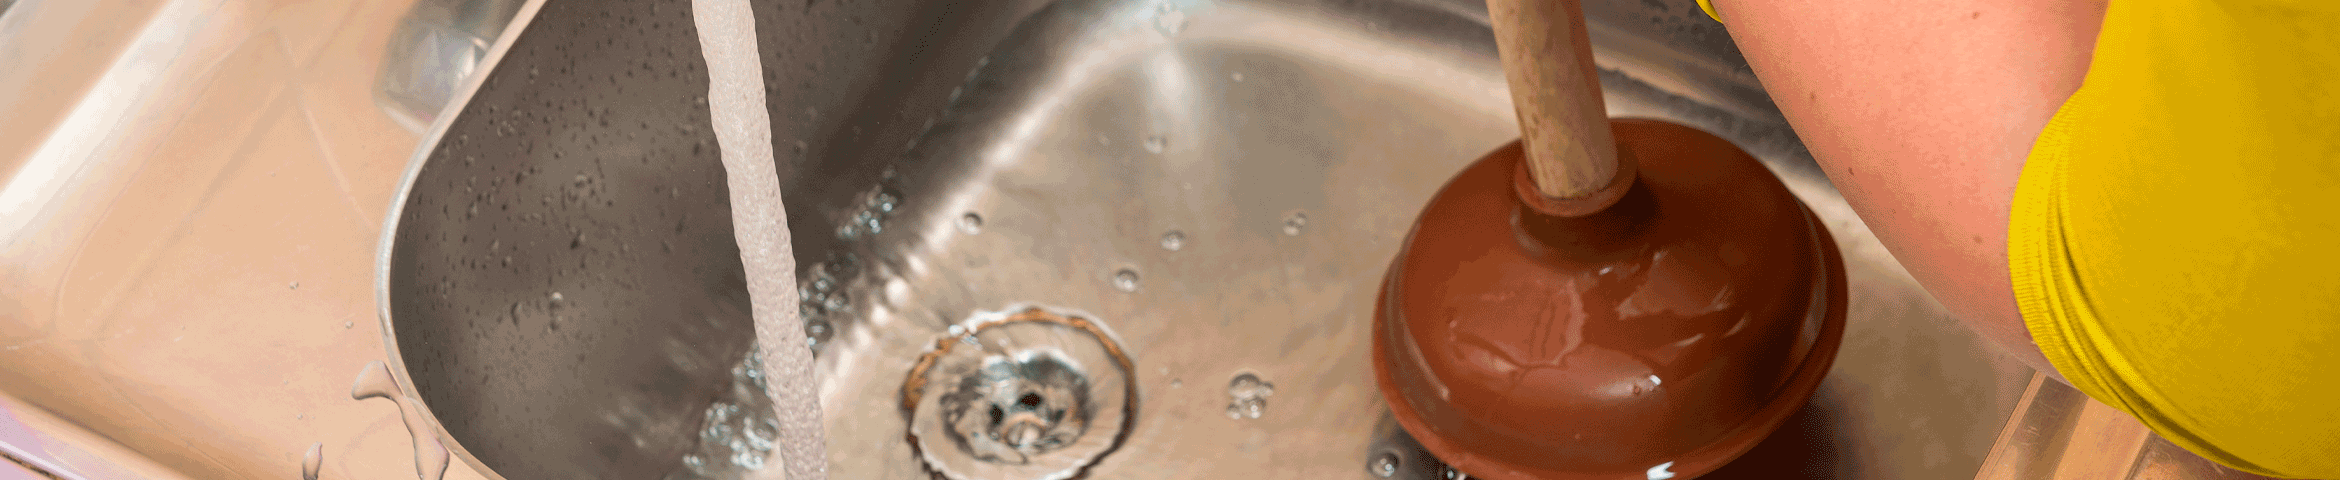
How to unblock a bathroom sink using a plunger
Now the plunger is the ye old faithful tool of plumbers the world over (just ask brothers Mario and Luigi). Relatively inexpensive and a bathroom tool staple everyone should own for scenarios just like a blocked sink, a plunger uses suction to move and shift a blockage that is located fairly close to the upper part of the waste pipe and the wielding of a plunger is usually the go-to first option for sorting a blockage.
To create a suction powerful enough to shift the blockage you will need to seal any gaps so that the plunger can create a good seal around the sink plug hole, this may require you to use an old rag to block up the overflow hole etc.Once you have done this, place the plunger over the plughole taking care to ensure it has fully covered the entire plughole. Now it’s time for a workout - roll up your sleeves and start pumping up and down with the plunger (and don’t be shy about it!). Sometimes this can quickly shift the blockage, other times it may take a few minutes of arm work to move whatever is causing the blockage.
When the blockage finally shifts, you’ll feel a change in the suction. If however this arm workout hasn’t yielded the desired unblocking results then it’s time to move onto plan B.
How to unblock a bathroom sink using some wire
If you’re encountering a blocked drain as a regular occurrence then it might be worthwhile investing in a pipe and sink cleaner tool (basically a long skinny coiled wire used to clean debris build up and minimise blockages). If however you don’t have one of these already then a length of flexible wire like an unravelled flimsy old coat hanger will make do. Using the wire gently and carefully insert it into the plughole to disperse and break up the blockage. Sometimes gently curving the end of the wire into a small hook shape can help you to snag and lift out whatever may be causing the blockage. This is especially useful if the blockage is caused by a buildup of hair or a likewise substance. Just be extra careful whenever using wire or an object with a point as you don’t want to be too heavy handed and risk damaging the pipe or seal around the plughole.
How to unblock a bathroom sink using pantry basics
If the plunger and wire options have failed you and you’ve now moved onto plan C then it could be time to go for a tried and tested old fashioned cleaning hack using items found in most kitchen cupboards. For this you will need white vinegar and bicarb soda.
Poor 2-3 tablespoons of bicarb soda down the plughole, follow this by pouring in a cup of the white vinegar. Adding these 2 ingredients together will cause a chemical reaction which results in a bubbling and fizzing of the 2 ingredients mixing together. This reaction will work to dissolve whatever is causing the blockage, but it requires some patience! Give it around 10 mins to work its magic.
If after 10 mins you can tell right away that the blockage has been sorted then flush the area through with hot water. If however the blockage is still present try the wire method again as the bicarb soda and vinegar may have made it more susceptible to breaking up with a bit of encouraging prodding.
Unfortunately if the plunger, the wire and the bicarb and vinegar haven’t brought you joy then it’s plan D - which is I am afraid to say likely to be a bit dirtier than the first 3 methods.
How to unblock your bathroom sink by removing the U bend
This is by far the most invasive and hands on method to unblocking your bathroom sink however on the plus side doing this means you’ve exhausted all avenues of clearing the blockage yourself before resorting to calling in a plumber. Whilst it isn’t complicated to do, it is messy and you will need to gather a few items together beforehand to make it as straightforward a task as possible.
Items you will need before removing the U bend
- Ensure you are wearing clothes you don’t mind getting dirty (and be sure they’re comfy too as you’ll likely be in an awkward position squeezed under your sink)
- A bucket or large tub (whatever you have at hand, sometimes a big saucepan or large roasting pan will suffice in a pinch)
- An old towel (don’t use your pristine white egyptian cotton as this is bound to get mucky, the older and more stained the better)
- A wrench or adjustable pliers (also known as ‘water pump pliers’ to help you get a grip and unscrew the U bend)
- Rubber gloves (a trusty old pair of marigolds is perfect)
How to remove the U bend
- Clear out the space under the sink. This is going to get messy so you want to remove all items from under the sink so they don’t get wet and also so you have as much room to manoeuvre as possible
- Use your phone to take a photo of how the U bend appears before you remove it. Taking a photo for reference will make it easier for you to put it back together the same once you’re done unblocking it
- Place your bucket directly underneath the U bend to catch any water and debris
- There is normally a threaded cap at either end of the U bend, gently unscrew these using your hands or the wrench depending on how difficult it is. Prepare for water to spill out when you do this, hence the importance of having a bucket poised and ready
- Empty the contents of the U bend into the bucket and inspect it thoroughly to ensure there’s no obstructions left inside the U bend
- Take the U bend to another sink or over to the bath and rinse it out. DO NOT RINSE IT IN THE SINK ABOVE (remember you just removed the U bend so turning on the tap above will flood the area below the sink so DO NOT USE THAT SINK)
- Reassemble the U bend and screw it back into place. Screw the caps on straight and tight but take care not to overtighten as this could damage the thread. Just make it feel tight and secure with the caps on straight and you’re good to go
Now in theory you should have successfully unblocked your bathroom sink (kudos to you!). Unblocking your sink can be a hassle, especially if you’ve had to resort to removing the U bend to do it. We know that sometimes, even with the best of efforts the sink might still be blocked, unfortunately that’s just how it goes sometimes. If this is the case then you’re going to have to bite the bullet and call in a professional, just know that you exhausted all avenues first before you did - so that’s something to be proud of for sure!
